
Angular - Setup Development Environment
This is a quick post to show how to setup an Angular development machine.
Steps
Follow the below steps to setup an Angular development environment and test it by downloading and running an example Angular application.
- Install Node.js and npm
- Install the Angular CLI
- Install the Git CLI
- Install Visual Studio Code
- Run an example Angular application (optional)
1. Install Node.js and npm
Node.js and npm are the runtime and command line tools required to build and run Angular applications.
Node.js is a javascript runtime environment that enables you to run js code outside of a browser, and npm is a package manager used to download javascript packages built to run on Node. They come bundled together when you install Node.js.
Angular is built on top of Node.js, the Angular framework itself and the Angular CLI are both packages available on npm.
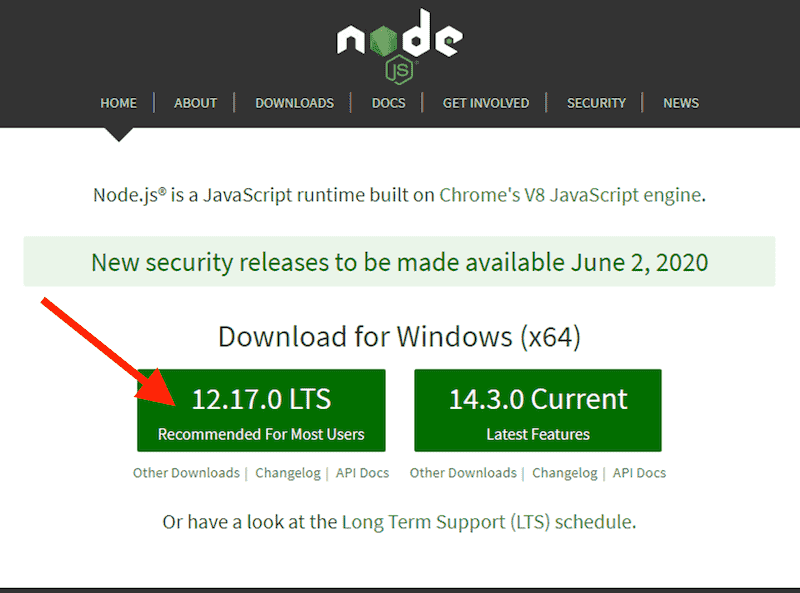
Download
Download Node.js and npm from https://nodejs.org.
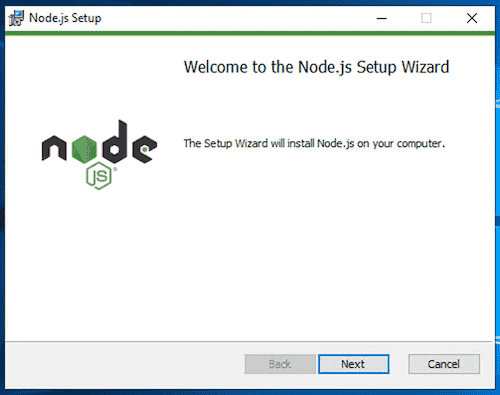
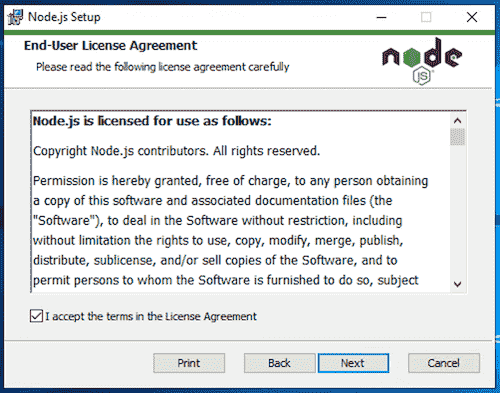
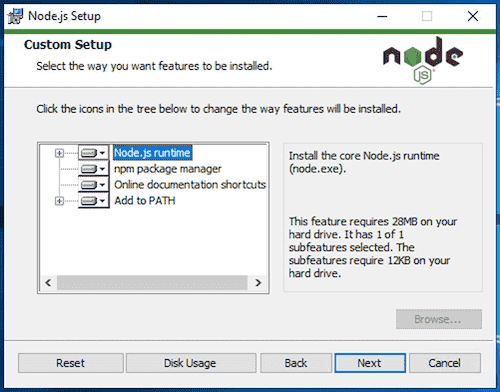
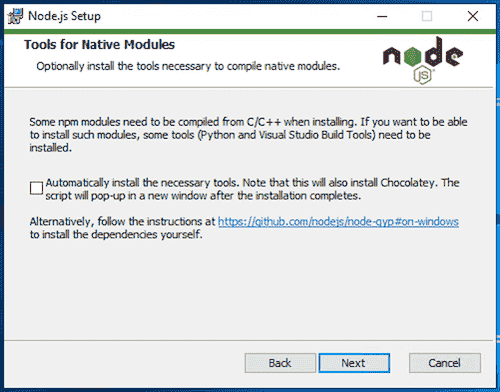
Install
Install Node.js and npm by opening the downloaded installer and following the prompts.


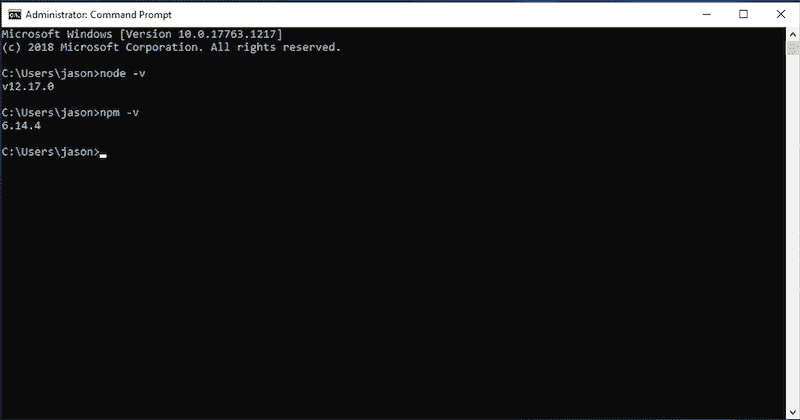
Test
Test that Node.js and npm were installed successfully by running the commands node -v and npm -v.
2. Install the Angular CLI
The Angular CLI is the de facto command line tool used to develop, build and test Angular applications. For more info see https://cli.angular.io.
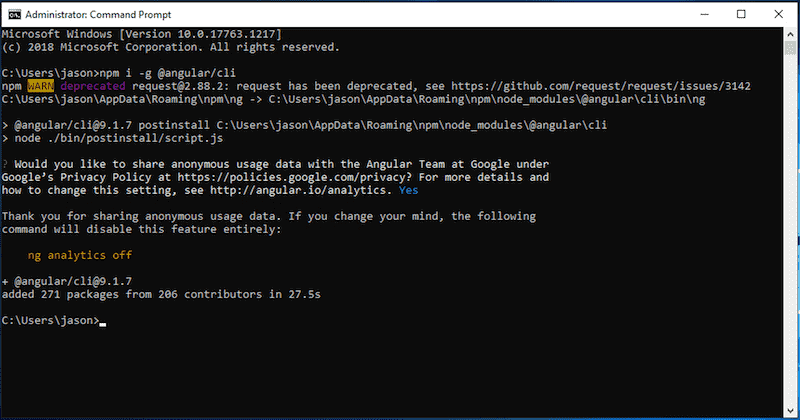
Install
Install the Angular CLI globally by running the command npm i -g @angular/cli.
Test
Test that the Angular CLI was installed successfully by running the command ng --version.

3. Install the Git CLI
The Git CLI is the command line interface used for cloning and interacting with git repositories (e.g. projects on GitHub). For more info see https://git-scm.com/book.
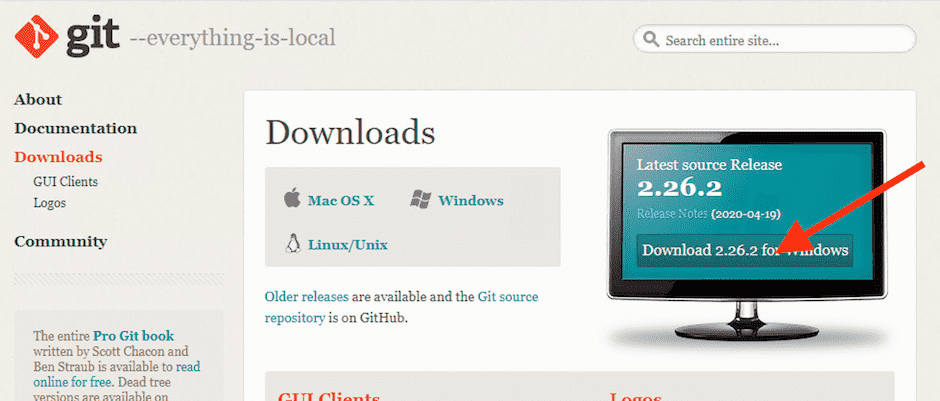
Download
Download the Git CLI from https://git-scm.com/downloads.
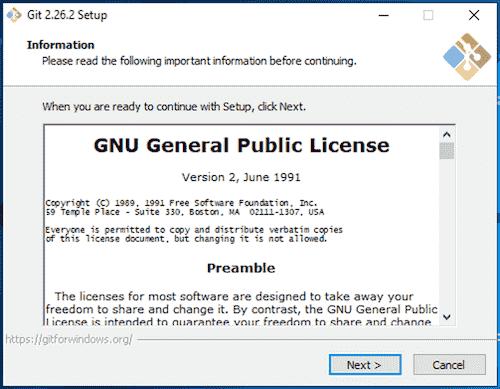
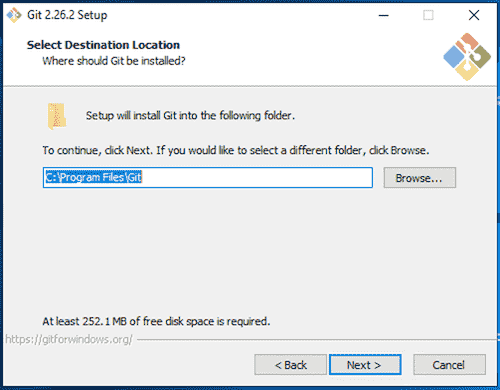
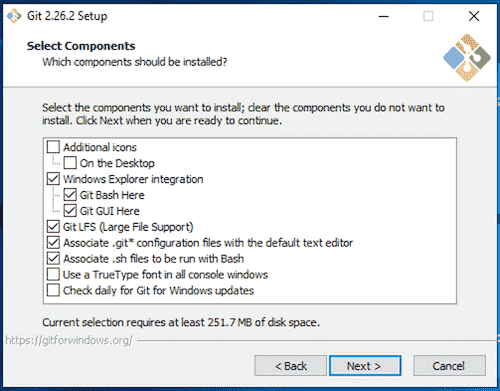
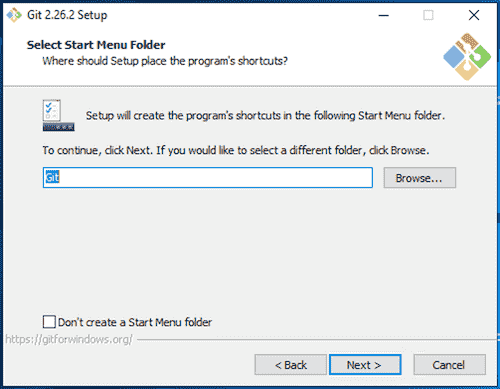
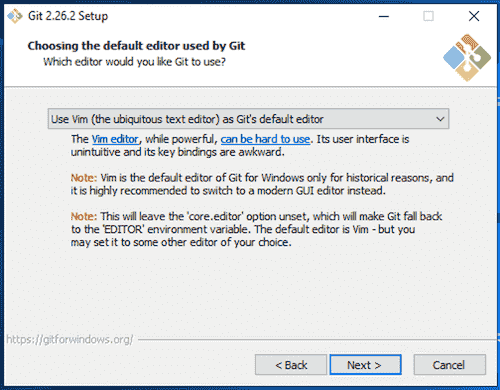
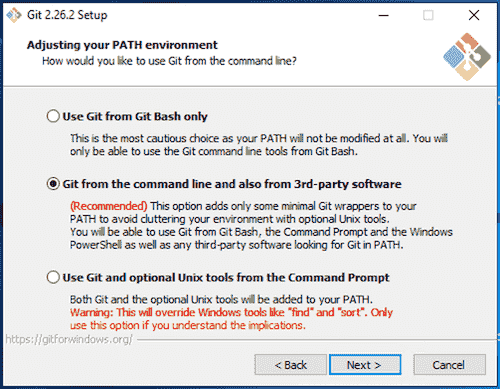
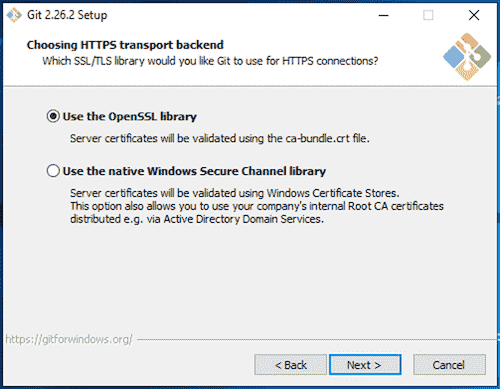
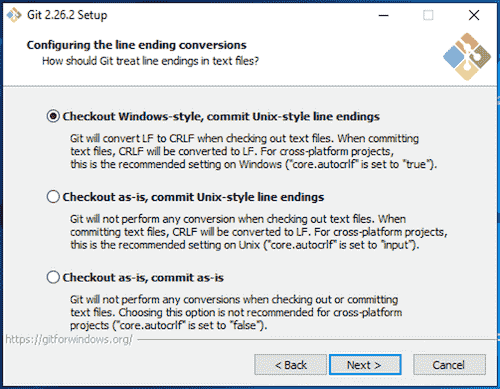
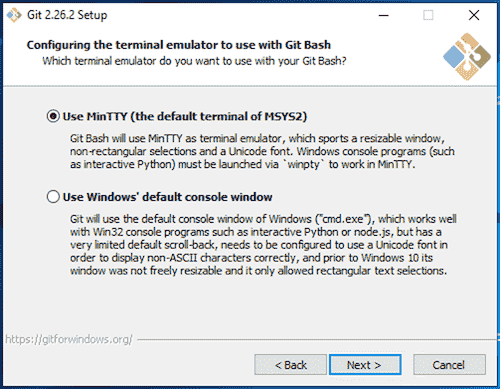
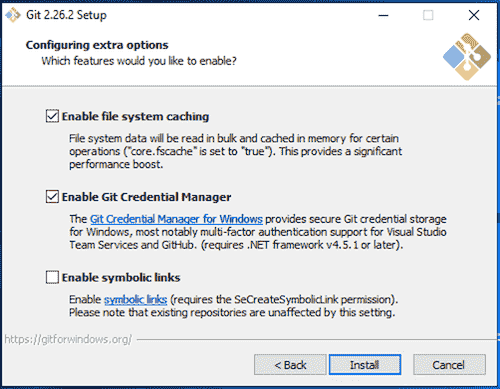
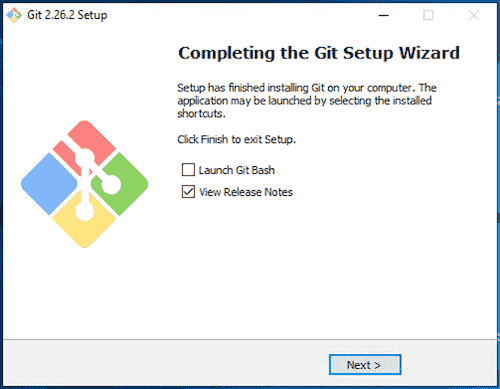
Install
Install the Git CLI by opening the downloaded installer and following the prompts.
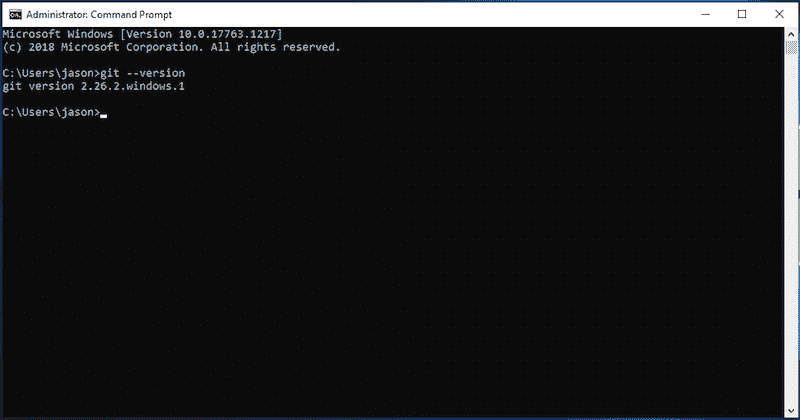
Test
Test that the Git CLI was installed successfully by running the command git --version.
4. Download and Install Visual Studio Code (VS Code)
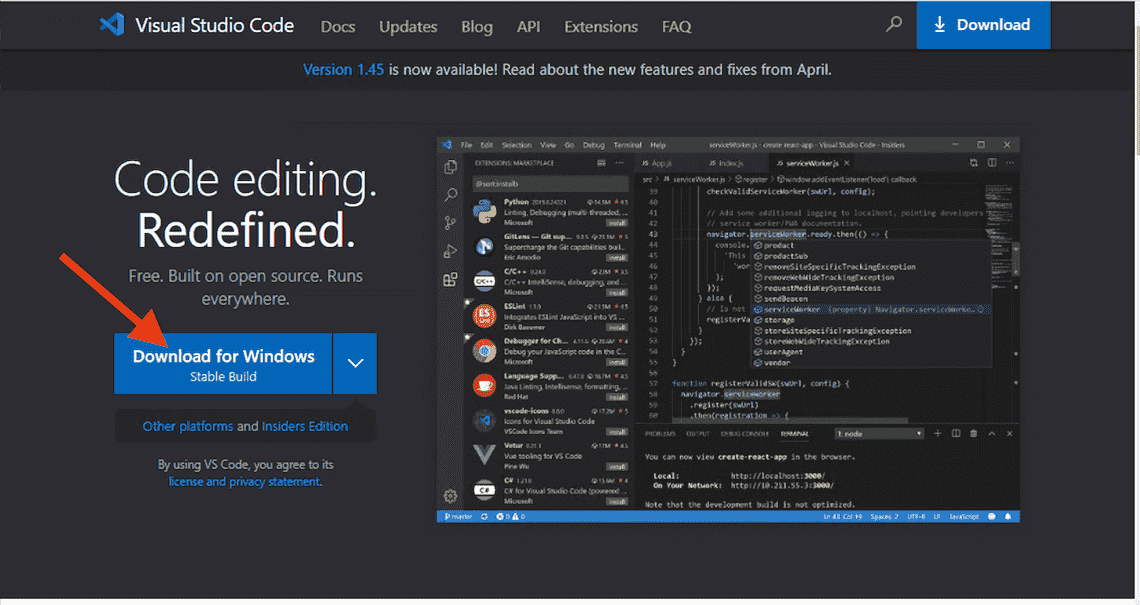
VS Code is a free code editor that runs on Windows, Mac and Linux.
Download
Download VS Code from https://code.visualstudio.com/.
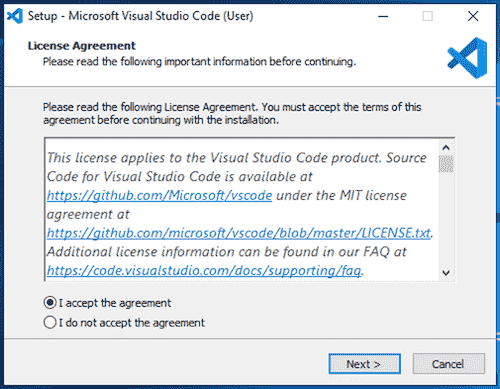
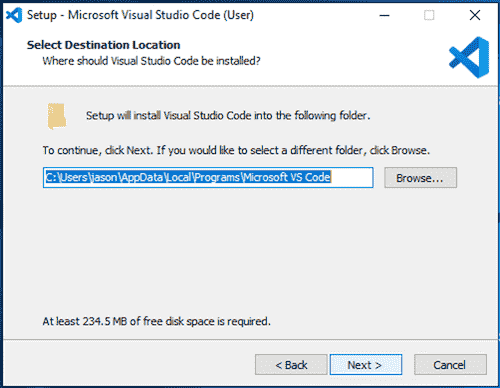
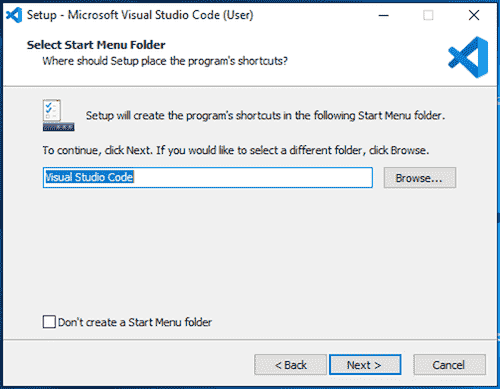
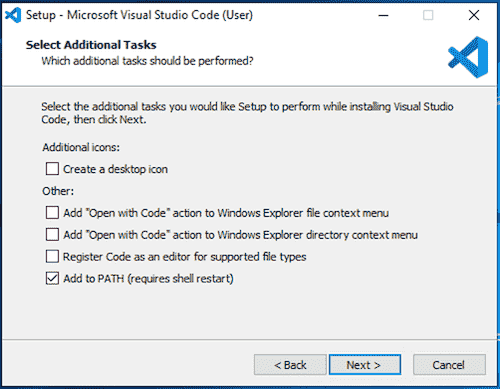
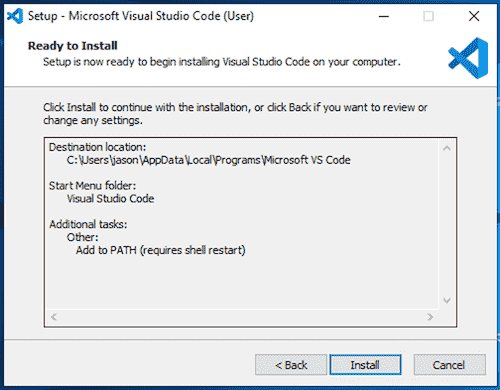
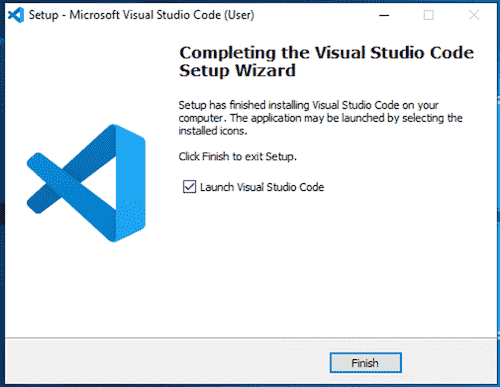
Install
Install Visual Studio Code by opening the downloaded setup file and following the prompts.
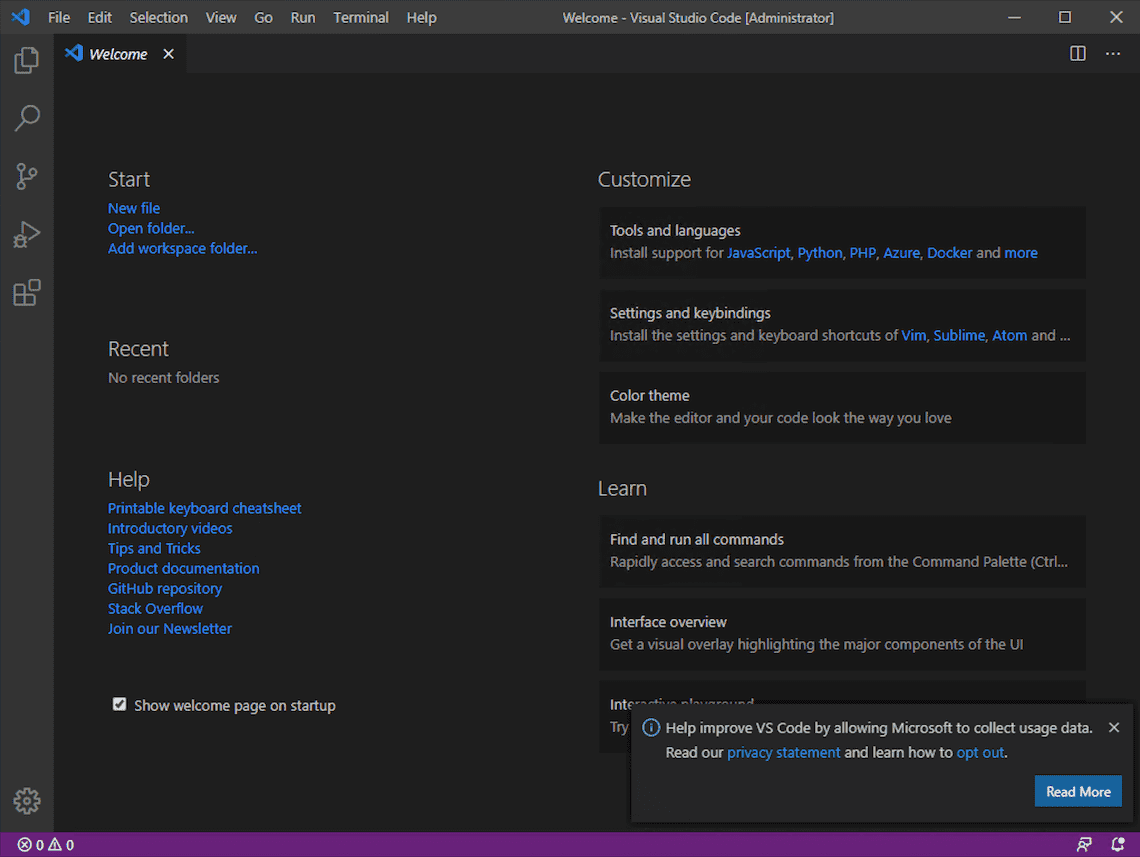
Test
Launch VS Code to test that it installed correctly.
5. Run an example Angular application (optional)
Your Angular development environment is now setup and ready to go!
This is an optional step to test out your new Angular dev environment. Follow the below steps to clone and run an example Angular application that includes user registration, login and user management features. Full details about the example app are available at Angular 9 - User Registration and Login Example & Tutorial.
- Clone the Angular project from GitHub with the command
git clone https://github.com/cornflourblue/angular-9-registration-login-example.git - Navigate into the project root folder with the command
cd angular-9-registration-login-example - Install the project npm package dependencies by running
npm installornpm i - Start the app by running
npm startorng serve --open, this will compile the Angular app and automatically launch it in a browser on the URLhttp://localhost:4200
Need Some Angular Help?
Search fiverr for freelance Angular developers.
Follow me for updates
When I'm not coding...
Me and Tina are on a motorcycle adventure around Australia.
Come along for the ride!